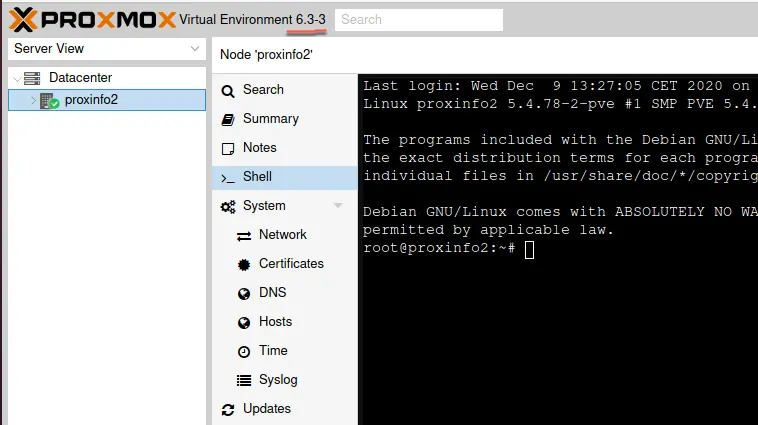
Proxmox is a robust and open-source Server Virtualization Management solution. It integrates Linux OpenVZ and KVM technologies to manage Virtual Private Server (VPS) Technology. After installation on your server, Proxmox VE provides a web interface that simplifies management with a few steps. Proxmox VE was developed by Proxmox Server Solutions in Austria and is licensed under the GNU General Public License through the Internet Foundation of Austria. It can be adapted to meet your needs as it is an open-source solution.

Proxmox is the best software, and it takes useful collaboration, great launchers, and exceptionally good funding to develop great products. For example, if you are using Proxmox in a commercial setting, we recommend purchasing a subscription. However, most people will be interested in using it at home or just playing with it, and they may not want to pay the membership for various reasons or may not be able to. Today, we will show you how to install Proxmox and update it without paying for membership. We don’t use official methods to upgrade, but it works for us.
Method to Install and Configure Proxmox
To get started, go to the official website and download Proxmox Virtual Environment ISO. The next step is to build a bootable pen drive from the ISO we have already obtained. We are now ready to install the bootable disk on our system when it is ready. The first step for the installation of Proxmox is to edit or update BIOS settings. For these settings, you should follow these steps as these are very important as they will aid you in configuring the Proxmox environment.
- Enter the BIOS. When your computer shuts down, turn it on and promptly hit the BIOS icon. F10 and Delete keys are commonly used to retrieve BIOS settings.
- Go to the Bios section of the menu. Now check the following items:
- Make sure ‘Fastboot’ is off, and ‘CSM support’ is on, and set up ‘Storage Options’ for legacy.
- Go to the Chipset tab and ensure the Intel Virtualization Technology Vt-d is activated. This often occurs under advanced BIOS settings.
- If you are an AMD user, enable IOMMU in your BIOS settings. Now, Save your work and close the tab.
- After the system has rebooted, remove the Pendrive and tap the Boot Menu button.
- From the Bootable Pendrive, select the UEFI boot you created with Balena Etcher.
- Let Proxmox run on the installation screen for Proxmox installing.
Method to Update Proxmox
Now, move to the next part, which is how to update the Proxmox. For this purpose, you need to follow the steps given below.
- After the installation is complete, tap the option ‘I agree,’ select the target Hard Disk, create the Password, and provide the Email.
- Type the Username and IP address, then click Install and wait for it to finish. Be sure to remove the Pendrive as soon as the system restarts.
- The IP address will appear on the screen after you restart to access the Proxmox panel from your browser. Now you can remove the screen from your system and set it aside because we no longer need it.
- Next, open any web browser and type in the IP address and port obtained in the previous step. By default, port 8006 is used.
- To log in to the Proxmox panel, type “root” as the username and password.
After logging in, the first thing we need to do is update Proxmox and all its resources. To accomplish this, we will need to add community resources to the list of resources. A valid Proxmox license is required to access official repositories. Proxmox does not require a license to operate. The unlicensed version is actively equivalent to the licensed version, with the exception that it does not have access to the trial “Business” update repository. As a result, you will not be able to upgrade to Proxmox without modification.
It is important that you obtain a valid license from the web, and if you are using NAS in your business or enterprise operations or are planning to deploy it, upgrade to Proxmox using the official repository.
Method to Update Proxmox without Subscription
It turns out that updating Proxmox from “non-commercial” repositories is easy if you follow these steps.
- Make a copy of the pve-enterprise.list sources file using the web interface to access the console: cd /etc/apt/sources.list.d/ and cp pve-enterprise.list pve-no-subscription.list
- So, now we have a duplicate of the original file. We can easily undo all of the changes we’ve made if we get a subscription later and wish to use the commercial repositories.
- For now, update the original file and replace one line with the following code: deb http://download.proxmox.com/debian/pve buster pve-no-subscription
- The file should be saved before closing.
- After that, open the duplicated file, pve-no-subscription.list, and make a minor edit to the line: nano pve-no-subscription.list
- The file should be saved and closed. Now it is time to update the package lists: apt-get update
- After that, it’s time to install software updates: apt-get dist-upgrade
Note: Always use dist-upgrade instead of “apt-get upgrade.” Dist-upgrade updates all modules as well as their requirements. If you only use apt-get update, something could go wrong. That’s all, and now you have Proxmox installed and upgraded to the latest version. You can now use the online interface to deploy your virtual machines.
Final Words
Lastly, keep in mind that “non-subscription” repositories are not guaranteed to be stable. They are not tested to ensure that everything is working properly. Updates to this channel are more likely to be up-to-date and/or testing updates. As a result, take risks, and if Proxmox VE is helping your business, please consider purchasing a subscription. Their technicians, like the rest of us, probably need food to eat.


