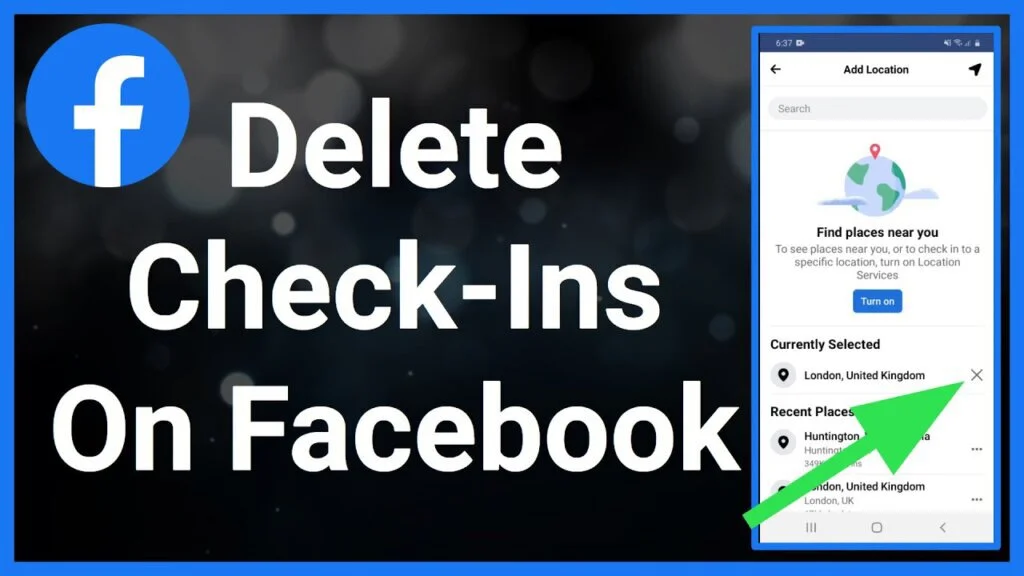
Facebook is the most used Social Media app on the Internet. This app is full of rich and unique features. One of them is to create a memory of your travel history. It allows you to create the proper record of places that you have visited in the past by creating the Check-ins.
Whenever you add a new post on Facebook at some new place, add check-in option appears which allows you to share your location with your Facebook friends. This is how you can keep your friends updated about your journey. This is the in-built feature but you can create Check-Ins by yourself too.
Check-Ins can be fun as they allow you to share the best restaurant, cinema, shopping mall, or recreational site you visited with your Facebook friends. But, sometimes, you don’t want to disclose your travel history to your friends, and for that purpose, you might want to delete Check-Ins on Facebook.
Few of the times you don’t want to be found out by others, in that case you can remove your Check-Ins or you can remove your Last Name On Your Facebook or can remove your Profile picture.
This guide provides the solution for How Do I Delete Check Ins On Facebook. You can delete the visibility of the Check-ins to delete it permanently. For that, you have to follow the complete step-wise method, which is presented below.
Method to Delete Check Ins On Facebook
Open your Search Engine and type Can You Delete Check Ins On Facebook; you will surely get a long list of methods to solve this issue, but all these methods are presented either in a complex way or with very extensive steps-to-follow. Both situations are not easy to comprehend for the users.
Go through the guide mentioned below to get the best and most simple method to Delete Check ins On Facebook. This guide is a simple solution to your question ‘How do I delete Facebook check-in from a Mobile app?’

Step 1: Open the Facebook app and log in to your Facebook account.
Step 2: Go to your profile, drag down and open the About info.
Step 3: Tap to See your About Info; drag down to search Check-Ins.
Step 4: Tap on View All in shaded blue at the top right corner.
A screen will appears with all of the Check-Ins you have created. Check and keep in View the posted date on this page or group.
Step 5: After that, go back to the profile by clicking on your name.
Step 6: Click on the three dots placed after to Add a story.
Step 7: A list of options will appear, then click on Manage posts. If you do not get it here, go to the activity log and then click on manage post.
Step 8: A screen will appear with all the posts and scroll down to delete the desired Check-Ins. Otherwise, you can use the filter to find the desired Check-In.
Step 9: Apply the date filter and click OK.
Step 10: A list will appear with all filtered date check-ins you want to delete.
Step 11: Click on the Check box after the post, click on Recycle bin, and then move to Recycle bin.
That is it! That Check-In is deleted from your Check-Ins list, and it will remain in your recycle bin for 30 days to be deleted fully. This is how you delete your Check-Ins on Facebook.
However, you can save your Check-Ins or Download Your Facebook Stories or Profile Pictures to make a thread of your memories that you can sometimes cherish after in life.
Final Words
This is all! This guide provides you an easy approach to the query ‘Delete My Check Ins On Facebook’. This method is simple but detailed. You can comprehend it easily for future use. This method is specific for Facebook as others do not offer this option.
If you are looking for any method to hide the Check Ins, then keep in mind that there is no such method. Thus, whether you can save the Check Ins or Delete them permanently. You can use this method and also share it with your friends and family to help them in the deleting unnecessary Check Ins.


